Rigging – Pre-Job Planning
New Braunfels, TX, April 12, 2023

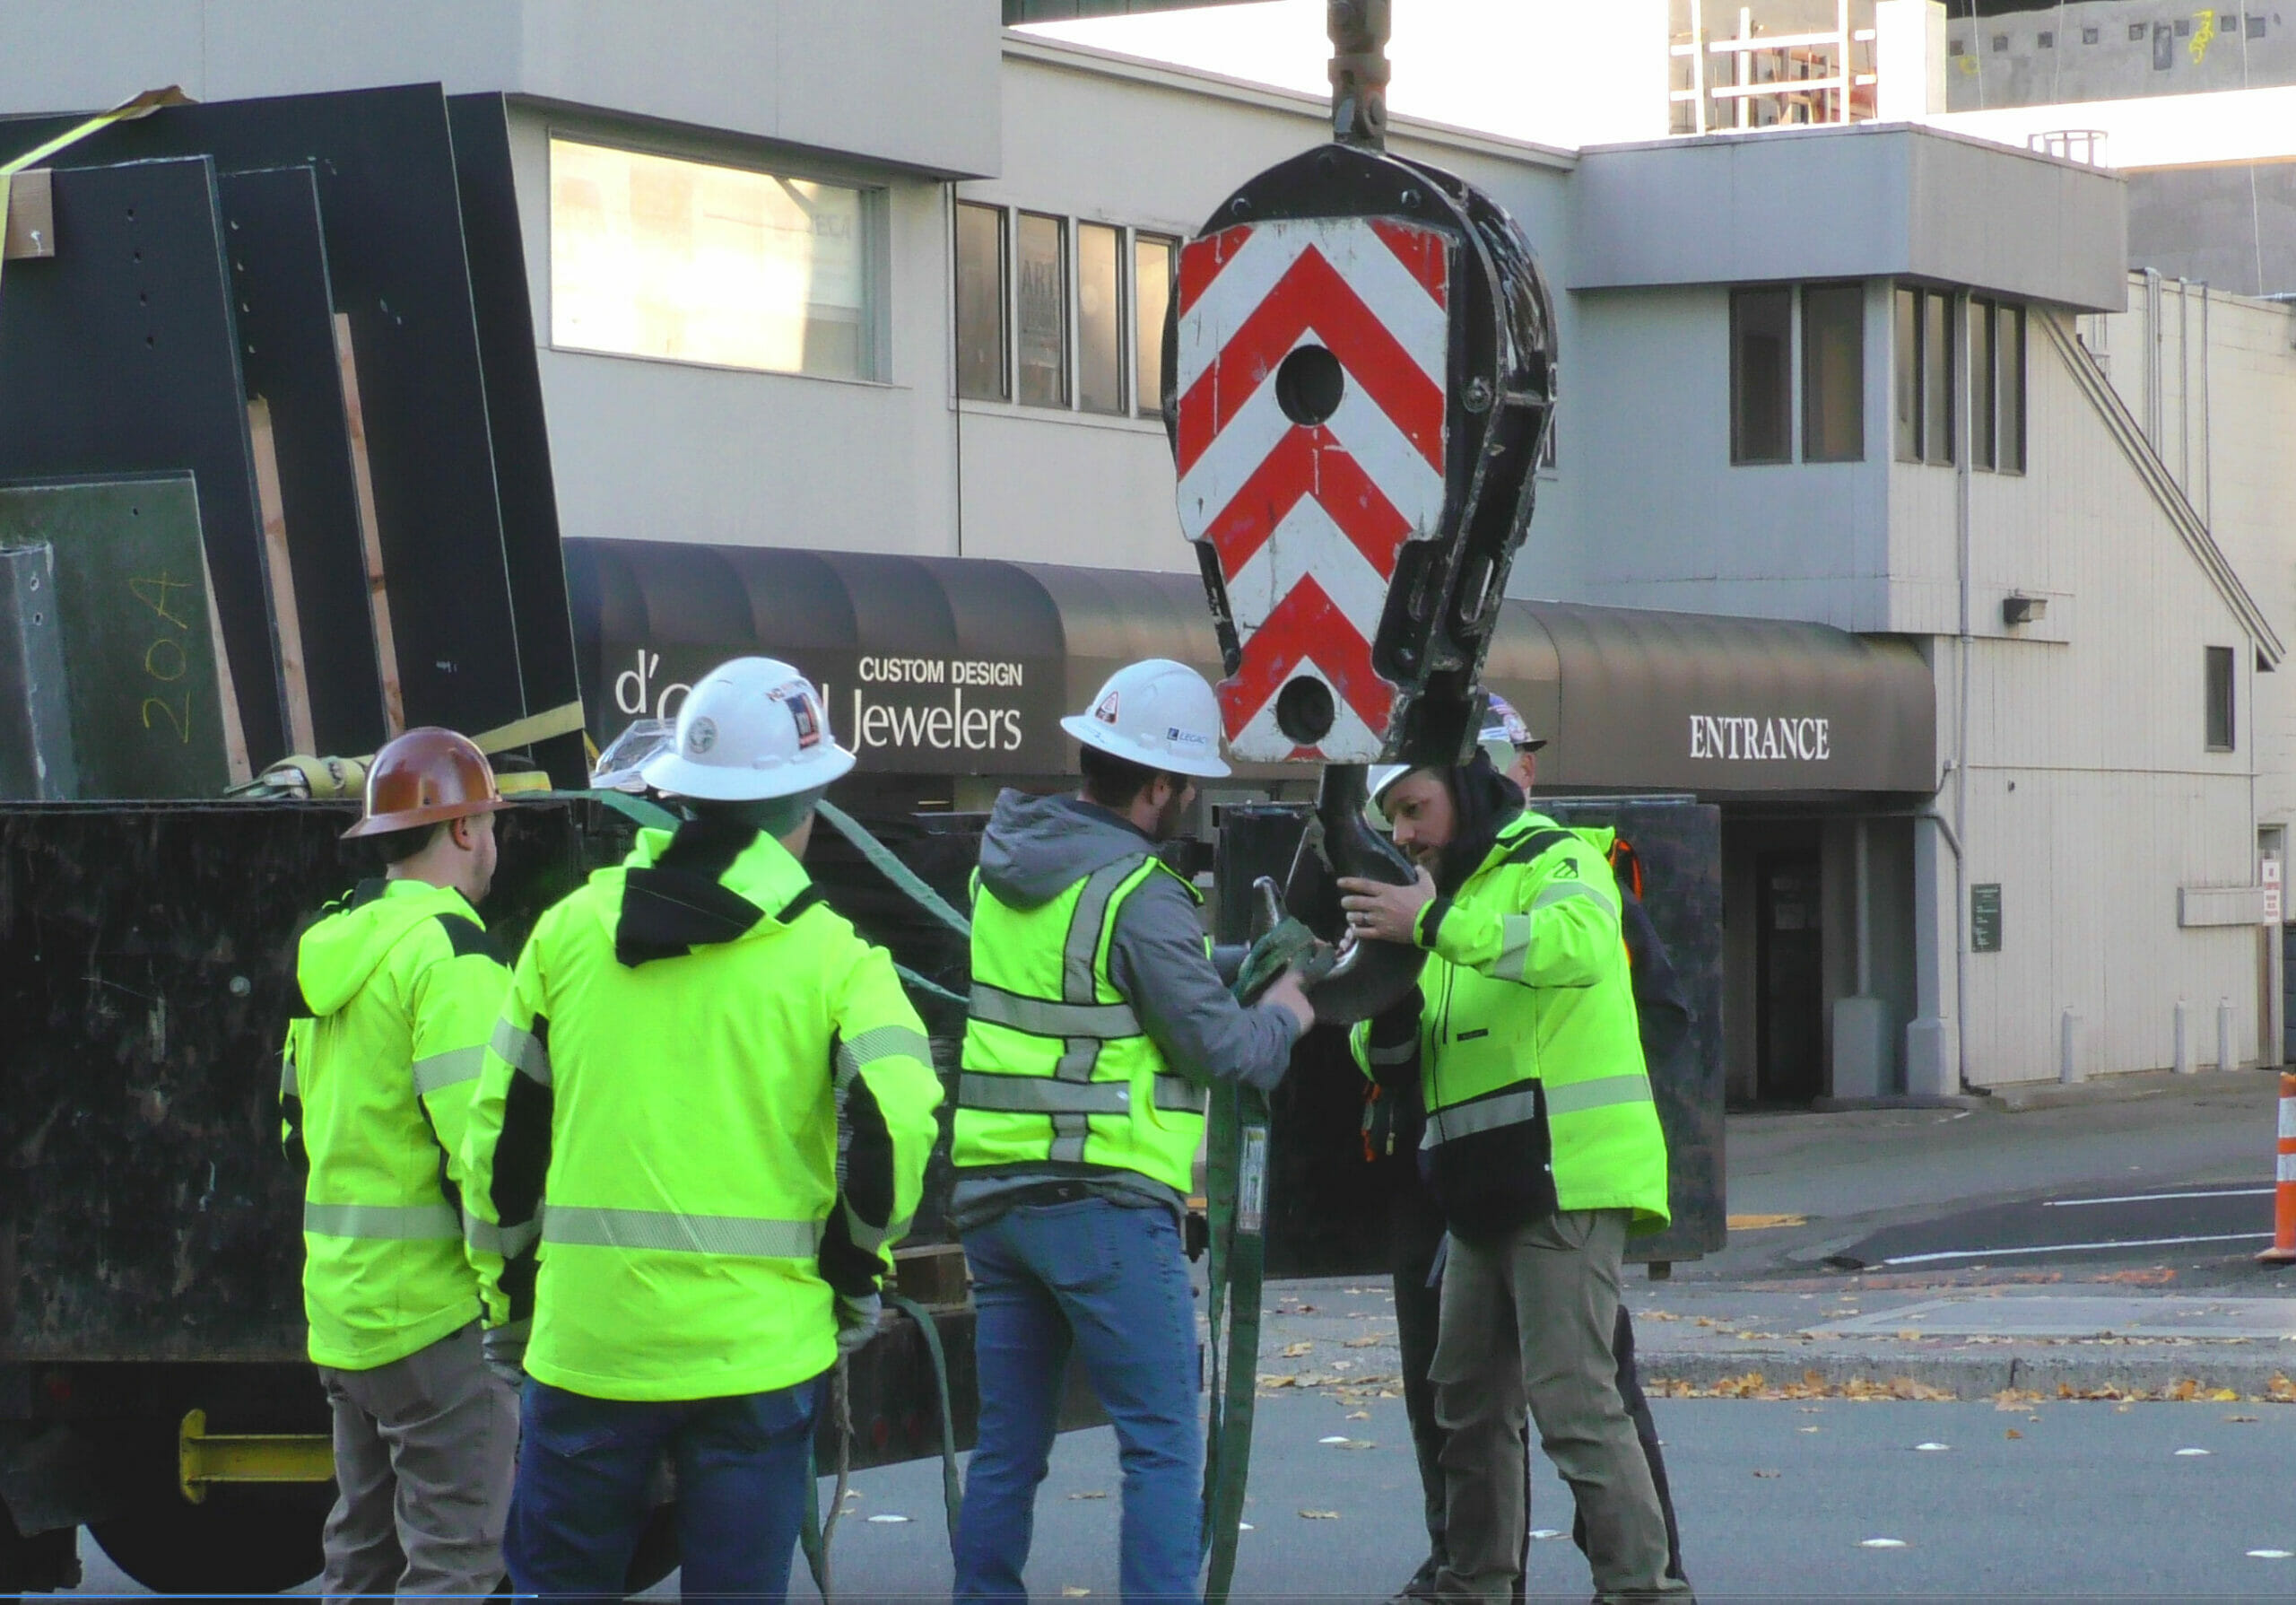
When it comes to high-risk activities performed by our field crews, the use of rigging systems to lift and/or lower equipment ranks at the top of the list. At any given time, we can have upwards of a hundred crews in the field utilizing ropes, rigging, and hoisting equipment which is vital to our overall safety and productivity. While this topic could be discussed for several hours and cover many topics. We want to focus on what is arguably the most critical piece of rigging which is pre-job planning. Taking the time to properly prepare for even the lightest of lifts can make all the difference. Our 3 key points for today are:
- Know the proper rigging class
- Only use equipment rated for rigging
- Inspect your gear before using it
Know the proper rigging class
According to the A10.48 standard, a rigging plan must be developed every time a load is hoisted. The A10.48 was created 7 years ago in effort to help contractors create a path to work safely and part of that effort was to develop a rigging plan. The rigging plans were given 4 categories and those categories are purely based on a hierarchy scheme; the bigger the risk that is being taken means engaging more educated individuals. That mantra is why we have a competent rigger, qualified person, and qualified engineer. As you follow those titles, the level of education or subject matter expertise increases. It’s why when we are over 500lbs with a gross load, we need to ensure a qualified person has reviewed the plan, just to ensure the details of a lift are executed safely. A qualified engineer is an individual that is licensed in a state and can determine if forces generated will or will not cause harm to a structure. Before we close out this key point, I want to offer a few more details around Class IV rigging plans. A class IV rigging plan is used when gross loads exceed 2,000lbs or if the work has the potential to impact the structure’s stability. Some examples of this include tower member replacements and rigging to antenna mounts or tower appurtenances. The key part of this is the word “or” anytime you attach any load to something other than the structure a Class IV rigging plan is required. Yes, even the nose bag with just a screwdriver lifted from an antenna pipe must be reviewed by a qualified engineer.
Only use equipment rated for rigging
As with fall protection equipment, rigging equipment is subject to very strenuous and specific testing. It is critical to understand that the use of equipment not rated for rigging is a big no-no in any rigging systems. Fall protection equipment is all too often used in a rigging application and while it might seem practical, the standards say it shouldn’t be done. Once fall protection gear is used for a rigging application it must be taken out of service. Rigging equipment will have things like, but not limited to, working load limits, capacity, and/or compatible rope sizes stamped or labeled on them. When these markings or labels become illegible, the equipment must be taken out of service. One last thing to cover is probably one of the most talked about components, that is all too often found in rigging systems. Yes, it’s the carabiner. Simply put according to the ASME B30 carabiners are not covered by the standard. That means that they are not tested to handle lifted loads per the standards and no considerations for the safe use of carabiners in rigging systems was given. That applies to even carabiners called “rigging” carabiners.
Inspect your gear before using it
The rigging system is only going to be as strong as the weakest link. Inspecting each piece of gear before you put it into a system is critical to lifts without incident. Looking at the label to verify it’s rating is only ½ the requirement. The elements we work in can create issues that only a thorough inspection can reveal. All the components in your rigging system require inspections daily. Synthetic ropes, rigging, blocks, and capstans are only a few examples of the equipment that should be inspected. Any equipment found to be questionable or defective must be taken out of service immediately and reported to your supervisor for additional guidance. In some cases, a compatible device can be used after you redline your rigging plan. If you are working with a Class III or Class IV plan, consultation with the qualified person and engineer are required before proceeding. In other cases, work might have to pause until proper replacements can be obtained. If you are unsure something has been inspected, inspect it yourself. Taking the few minutes to inspect the equipment in your rigging system can prevent a catastrophic failure that could cause damage to property or equipment or even worse, injury to yourself or a co-worker.
As I mentioned earlier, we covered only a small part of the overall process to a successful lift. pre-job planning is only the first step. Communication, properly trained personnel, proper implementation, and attention to detail are a few other key pieces to safe and effective rigging operations. We are lucky here at Ontivity to have several folks that are heavily involved in ongoing efforts in the industry when it comes to rigging. The knowledge and contacts these folks have is endless, and it’s available to you by simply “Making the Call”!
If you would like more information on this topic or any other safety-related topic, please reach out to the Ontivity safety team at safety@ontivity.com, and we will get you taken care of.
